Friday, 8 January 2016

Chassis, Dash & Comms loom - Part I


Will be spending all weekend fitting the chassis loom, relays and ECU to the cockpit. the ECU and three relays pictured in the first image below will live on the inside of the bulkhead.


The other 3 relays will live in the space under the standard S1 dash top, which is rather cavernous. 


Sub-loom for Omega Digital Dash (means that future upgrade/change of dash type is more straightforward)


Friday, 1 January 2016

New Year's day updates!

Happy New Year everyone. I'm looking forward to 2016 as the year to finally get the car finished and go out and enjoy using it! :-)

I've had a very productive couple of weeks on the car, in no particular order:


  • Engine loom installed. Hole drilled for bulkhead connector to chassis/cockpit side loom.
  • Brakes bled. Initially we had a slightly spongy pedal but tracked this down to some slight play in the hydraulic handbrake mech. Once I rectified this the pedal feels great. I am hopeful the brake performance and bias will be pretty good out of the box.
  • Clutch bled. Got lucky with this one and the matching of standard S1 lotus master cylinder to standard Ferrari slave cylinder has turned out to give an almost perfect pedal feel and weight. The clutch seems to engage and disengage smoothly. I believe the plates have only 17,000 miles on so hopefully there is a goo bit of life left in it yet.
  • Rear wing endplates made. I had been holding off on this as I couldn't decide what to make these out of. In the end I plumped for the same ABS-based material I've used for the side skirts. The only downside of this material is I can't quite figure out how I'm going to create the louvres we want. More thinking required..!! (but they will do for now!). The geometry of the endplates has been suggested by a friend of mine who is an aerodynamicist for Williams F1 team.
  • Diffuser consctuction. Started out by extending the standard S1 elise diffuser and using that as template. Will do a full post on the diffuser once it's complete...


Thursday, 24 December 2015

Loom Part II


Engine loom is now complete and I will be fitting over the Christmas break. Fully sheathed in Raychem DR25, labelled and with Milspec weatherproof connectors throughout. 

Merry Christmas everyone!

Friday, 11 December 2015

Engine,dash & comms loom (Part I)

Sorry for the lack of updates. It's been a month since my last post, but to be honest it feels like not a lot has happened on the car in that time. :-(

I have been waiting on the CNC machining of the front brake calipers (will post on these shortly as I have one of them now) before I can bleed the brakes and clutch.

And I have been waiting on completion of the engine, dash and ECU comms loom.

Obviously both of these are needed before I can try to start the engine and take the car for mapping. I have seen the loom and it's at least 75% complete, hopefully I will have it in the next week or so. In the meantime here's a few pictures of work in progress and bench testing the Cosworth Omega D1 dash:


Green = injectors. Blue = coils. White = sensor inputs. Pink 0V. Orange 5V. Red 12V... etc etc :-)


Omega D1 with shift light module

Wednesday, 11 November 2015

back on the ground!


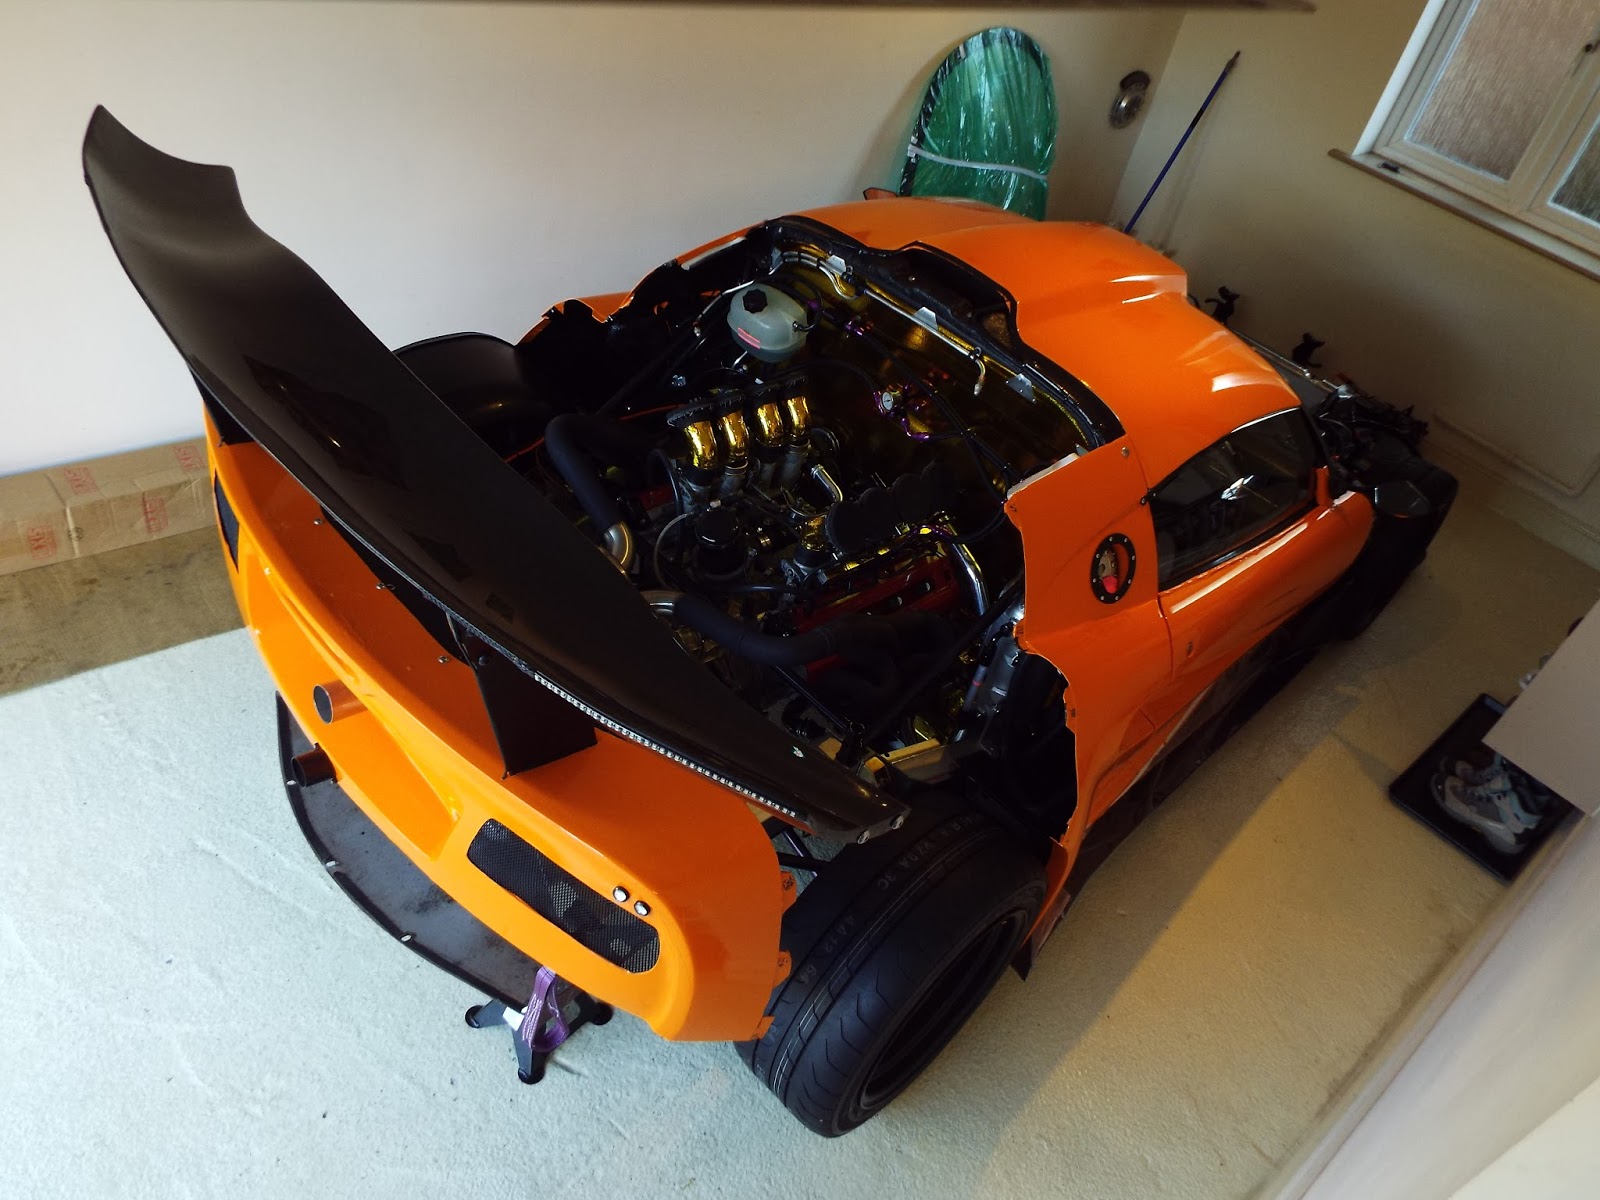
So earlier this week, after precisely 521 days on axle stands since I started stripping the original S1 Elise the car is back on it's own four patches of rubber. 

Looking at how the car has metamorphisied (!) over that time I'm pretty pleased with the outcome and timescale. Especially seeing as I set out stripping the Elise without a clear plan as to what powerplant was going in at the time.

So still outstanding now are mainly just the fitment of the bespoke motorsport spec wiring loom, which isn't quite complete yet, fitment of front brake calipers and bleeding of clutch and brakes, and then set-up and mapping of the engine and all the ancillary systems.

There are quite a few niggly bits and bobs still to address on top of that, but not a lot else that would stop me shaking down the car.

Here's some pictures of the car back where it belongs :)
(ride heights are set pretty high for now in anticipation of loading trailers/ramps/rollers etc during mapping)


Sunday, 8 November 2015

Fire Extinguisher


Despite the fact that I am not building this car to any particular set of rules or regulations, it still seems very sensible to fit a decent fire suppression system in the interests of safety given the completely custom nature of the fuel, exhaust and wiring systems on the car.

I decided to mount the bottle in the front compartment, where I could easily site a 2.3Litre bottle. They system is designed for twin nozzles, and I decided to place both into the engine bay (rather than have one in the cockpit), as the engine bay is a more likely place for fire to breakout. If the system can suppress a fire even if just for long enough for me and a passenger to exit the cockpit then it will have done it's job.

A few pics of the install:


 Centrally mounted pull handle where both driver or passenger can get to it in a hurry.


One nozzle pointing at LHS bank, the other at RHS bank and oil tank.


Wednesday, 4 November 2015

Onwards and...onwards and.. onwards!

Apologies for the lack of blog updates. It's been a bit of a long slog recently. Mostly just plugging away at all the small stuff that seems to always need doing at the end of the build, but adds up to take an inordinate amount of time!

So a few pics:

ECU bracket made for AV mounting the SQ6.


Collected my driveshafts that have been custom made by Dave Mac Props in Coventry. 108 lobro inner CVs and 28spline Astra outer CVs. The shafts are provided with a lifetime warranty including motorsport use! If anything fails/wears out it is likely to be an inner CV bearing cage or outer joint, neither of which are not too expensive/troublesome to replace...


AP Racing high temperature paint for the rather special brakes...